Wednesday, January 1, 2014

Bloating: firing fault ruins good pots

After hours of work making, glazing and firing your pots, the opening of the kiln door can lead to some anxious moments. As the door opens your eyes quickly try to assess the setting; first looking for disasters like broken pots, are they all there? and they all standing? are any melted together etc. After the initial assessment you gauge the colour of your glazes; did you get the top temperature right, are the glazes under or over-fired? After the initial rush of excitement, providing everything has gone OK you happily and carefully unpack your work from the kiln, quietly satisfied that all the time and labour you invested was worth it.

Sadly, not every firing is a good firing and there might be times when a whole kiln load of work has failed for one reason or another. I have had many such firings, especially when I was starting off in ceramics, and again when I started experimenting with local materials. Failures are heartbreaking but they become part of the learning process. You slowing create a list of things that you won't do next time. This list will eventually lead to that process which will produce the results you seek.

My September firing was generally successful and on first glance I was very pleased with the majority of the work. Once I started unpacking I noticed that a few of my favourite pots had faults and were ruined by bloating. Bloating is a term used to describe a common firing fault. The fault can be described as bubbles or blisters in the clay body which distort the surface of the pot making it 'lumpy'. The photographs below show the top (where the bloating is barely visible) and side of a pot with some large lumps in the surface of the pot.


Top view

Side view- large lump in the side of the vessel

So what caused this bloating? 


Typically bloating is caused by:
  • Over firing
  • Impurities in the clay body
  • Early reduction or excessive reduction
  • Glaze melting early and trapping gases(as impurities burn away)within the clay body
Common solutions are:
  • Firing to a lower temperature
  • Slower bisque firing to a higher temperature to allow impurities in the clay body to burn away
  • Starting reduction at a higher temperature
  • Removing materials from the glaze recipe that melt early
Because I use local clay as my clay body I always bisque fire my work to 1030 C (Cone 05), although I have not bisque fired with cones for a while. I will be sure to bisque fire with cones next time to double check the accuracy of the pyrometer on the electric kiln that I use. Mind you, this is best practice, and I have been a little slack. You should never trust the pyrometer on your kiln and always use cones, especially if you have issues with bloating. However, as the bloating was not consistent with all my pots, some pots came out fine . What was consistent with the bloating pots was the glazes that where used, they all contained wood ash in the glaze recipe.

I have being doing a bit of experimentation with copper with some of my glazes of late. And as a consequence I lowered the point at which I begin reducing (reduction) oxygen to the kiln. I fire with wood and it can be tricky to be precise with the temperature - a bit of extra wood can easily create an atmosphere where there is more fuel than oxygen (reduction). So I am thinking that the likely cause of the bloating is the impurities in the wood ash combined with the lower reduction temperature.

As I am not planning to remove the ash from my glazes or stop using local clay, my plan for next time is:
  • Slower bisque fire to 1030 C ( Cone 05) making sure to check temp with cones
  • Slow wood firing down especially in the 600-800 c range to burn off impurities in glazes prior to reduction
  • Be extra careful not a create reduction too early and reduce at a higher cone (Cone 06)
Oh..and hope for the best next time I crack the kiln door.


Follow Craig on Twitter @RedBrownEarth


Friday, October 18, 2013

Woodfired Surface

I love the effect wood ash has on my chun glaze. I was able to get this effect on the surface of my chun pots in my September firing. In this firing I used almost 100% pine (native-cyprus) to get the result below in 13 hours. I haven't been able replicate this with hard woods so far. I am still getting the pine from a section of dead pine trees on the farm that my grand father ring-barked years and years ago.

Surface detail: Effect of pine ash on chun glaze over 13 hour firing

Friday, October 11, 2013

Solo exhibition for 2014 Confirmed

I have recently confirmed a solo exhibition at Strathnairn Homestead Gallery. The exhibition titled Out of the blue will run from Friday 18 July to Sunday 3 August 2014. The exhibition will feature work created since my Graduating show at the ANU (late 2012) to mid 2014. Exhibition will aim to showcase the continued exploration of my 'Cloud' glaze (Chun) via various wood firing methods. As well as other the other glaze colours I have been experimenting with. Some of which have been 'happy accidents' with the colour quite literally appearing 'Out of the blue'.

Out of the blue #4, Wood fired  Stoneware and chun glaze, 2013

Wednesday, October 9, 2013

Images of my work from the July firing

Here are some shots taken by Stuart Hay of my work from the July firing. He does such a good job of photographing the work (and the shiny surfaces). I am very happy with these images. From this lot I put an entry into the Clunes Ceramic award 2013. The large flat bowl 'Memories of Sky #2' made it into the final exhibition. The exhibition closes this Sunday. You can check out the other finalists at http://www.clunesceramicaward.com.au/ . I was very pleased to be selected for this exhibition.


Sunday, July 21, 2013

Slightly overcooked but best firing in this kiln so far


I cracked the kiln to reveal pleasing results. The kiln fired hottest at the top of the kiln where my cloud glaze (chun blue) was over fired to a clear gloss. As the temperature varied to the bottom of the kiln however, so did the blue glaze on the tall vertical forms which I was happy with.
 
Over the last few firings I have seen pink blushes on various pieces, this time I got more of a purple (see photos below). I am not 100% sure whether the purple is just the pink blush fired to a higher temperature? As I am not changing the glaze recipe or the wood this is quite interesting - something I will have to investigate further. 


Tuesday, July 16, 2013

Dealing with difficulties

I started the firing at approx. 6 am, it was cold and dark. The firing progressed nicely in the early stages and soon the sun was up. It turned into a really nice day with no wind. I begun to have trouble getting the temperature to rise at about 1100 C and approximately 10 hours into the firing. This was also compounded by the fact that white ants had eaten a lot of the wood I had split and stacked last summer (enough for two firings I thought!).  After trying a number of adjustments - I could not get past 1200 C and eventually resorted to raking out the coals from under the grate to increase the air flow. This was very hot work and once I had cleared the coals away I could see that I had lost two of my grate bars, one from each side. This was effecting the air flow into the kiln , however removing the coals did help the air get into the area under the remaining grate bars.The temp started rising and the cones started to bend. Opening up the primary air holes above the grate and feeding small pieces of wood helped to keep the temp rising. Soon the cones were over at the top and the bottom of the kiln (cone 12 flat at the top, bending at the bottom). I was finished in approx. 13 hours.

 
sunrise once the firing started

 
Kiln at top temp

Saturday, July 13, 2013

Packing the kiln for firing number 3


The photos below detail the packing of the kiln for firing number three. I made some slight adjustments to the bagwall. These  adjustments were to allow a little more space between the bagwall bricks and the walls on a couple of different courses. Most of the work was packed quite tightly in the section nearest to the bagwall and then stacked as high as I could to get the work close to the top of the kiln. The two pieces either side of the bottle on top of the bagwall are works my girls made - one is a face of a crocodile the other a dinosaur.


Monday, July 8, 2013


Bowls, bottles and vases- vessel forms ready for glazing.

Saturday, October 6, 2012

Firing #2: Unpacking

Unpacking the kiln revealed a more even distribution of heat compared to the first firing. I could see after cracking the door that I got the right temperature in most parts of the kiln. The very top of the kiln and the area just before the flue seem to be the coolest areas. My cloud glaze (chun) is fairly fussy, the thickness needs to be spot on and so does the temperature. After firing this glaze many times I can tell which one of these variables are lacking. On this occasion I think I got the thickness a bit wrong with some pots firing to a deep blue to black(clear). I am pleased with the firing though, a big improvement over last time.


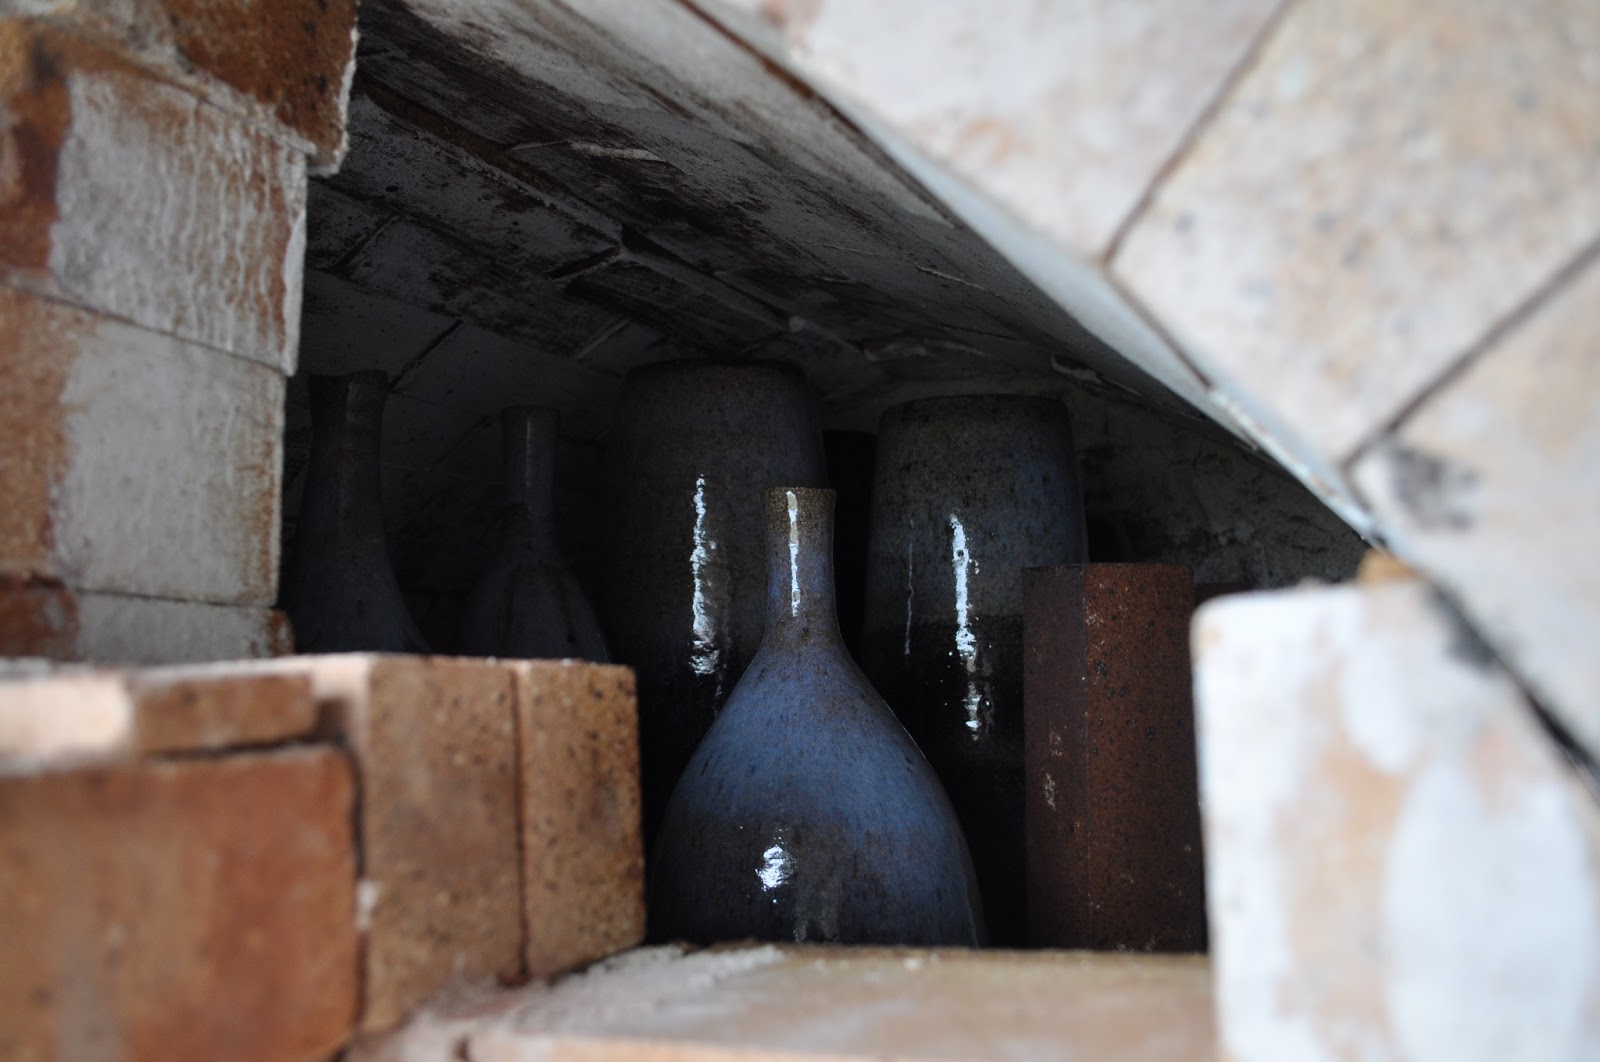
Above: Cracking the door to see the pots.


The addition of the bag wall has definitely helped get the heat higher in the kiln. This time Cone 12 was down at the bottom with Cone 11 flat and Cone 12 bending at the top. I guess I will have to continue with slight modifications to the bagwall over the next few firings.


Above: The door completely down, cooler near flue but much improved.


Saturday, September 15, 2012

Got temperature

I managed to get cone 11 down at about 4.30 pm. The glaze on the pots looked like it had melted. I will have to wait until I open the kiln to find out.

Cold start but going well

It was a crisp morning when I rose at 4.30 but the kiln started off well. I made a small fire in the kiln last night and let it burn down to preheat it a bit. So when I started this morning the kiln was warm and a little bellow 100 degrees. Burning odd bits under the grate works well. Especially when there are so many sticks lying around under the talk gums.

Packing the kiln

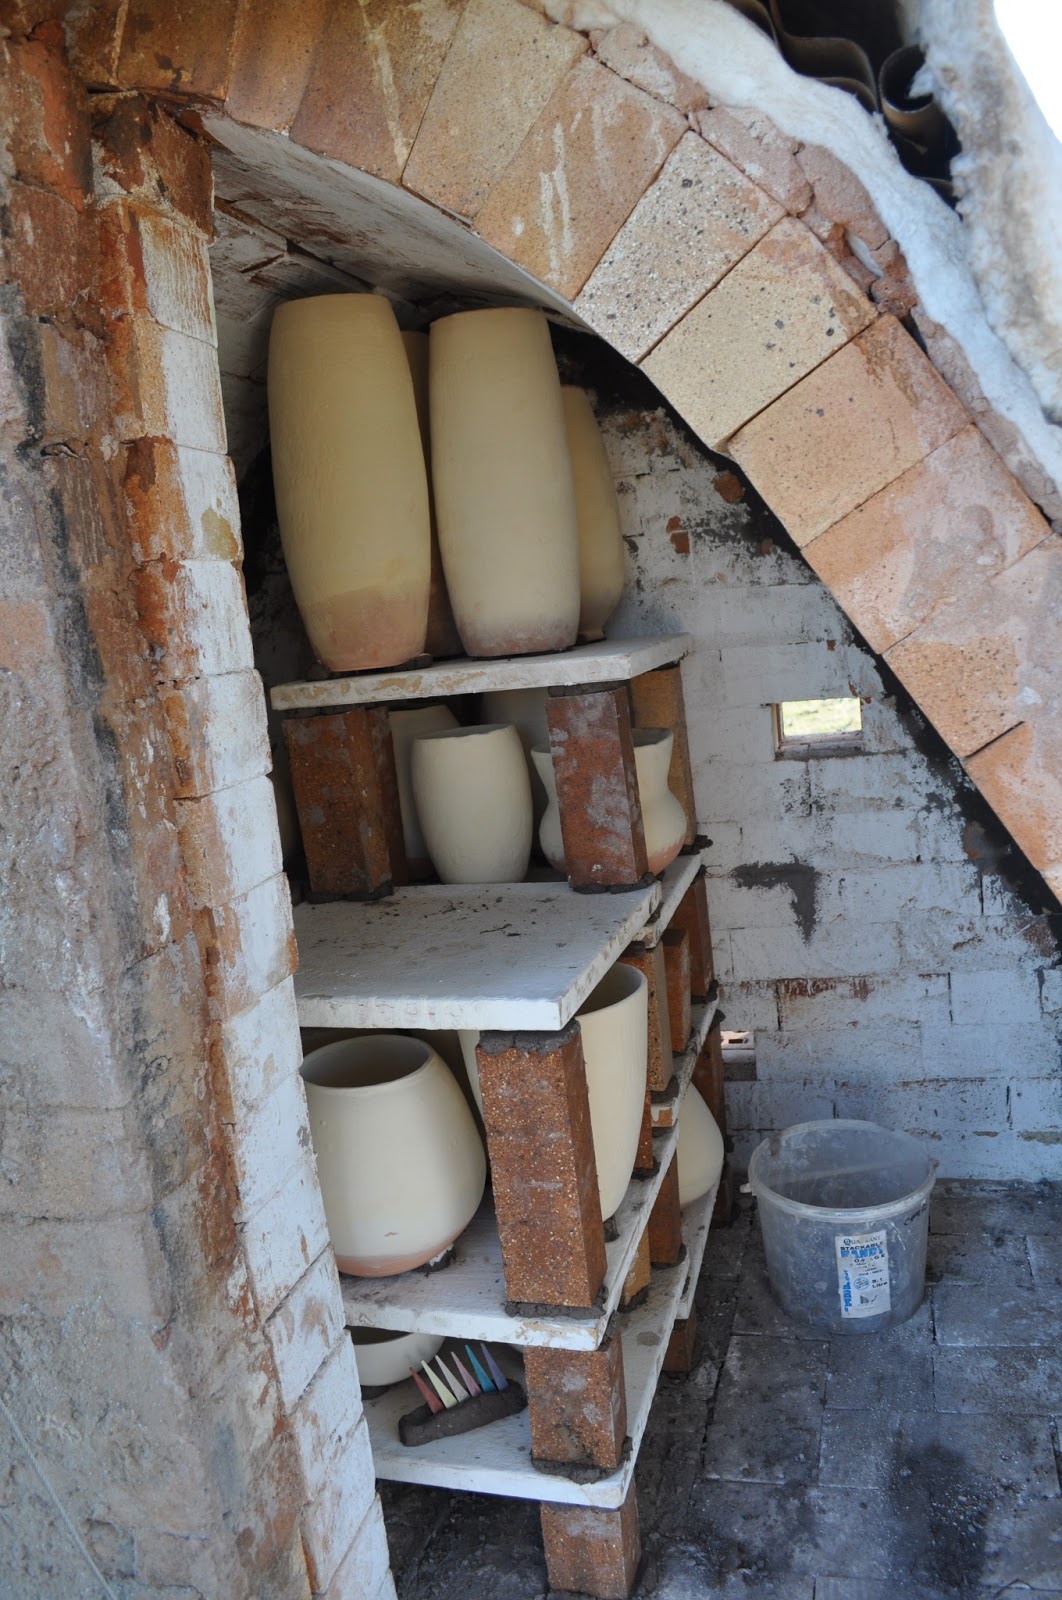
Because of favorable weather conditions I have decided to proceed with firing the kiln this weekend. I spent the best part of yesterday packing the kiln and getting things ready to fire today. I managed to fit all the work in except two pieces. Photo below shows final stages of packing.

I have started the firing now and have a small fire burning at the front of the kiln ( below the grate).


Thursday, September 13, 2012

Preparing to fire

I have spent the last couple of Saturday's making up glaze recipes and applying them to my works. With this load of pots I have made a range of various sizes and explored some new forms. I am hoping that the range of sizes and variation of form will allow me to pack more work into the kiln and fire it more efficiently. The photo below shows all the pots for the next firing.

Thursday, August 23, 2012

Kiln Modifications

I hope to do two more firings this year in the new kiln before it gets too hot and dry. This means I need to get busy creating enough work to fill the kiln twice! However, before I do the next firing I will need to do some modifications to the kiln. I am hoping these modifications will allow the kiln to fire more evenly. With the current design only the pots and shelves can deflect the flames and heat upwards. So during the last firing everything in the middle of the kiln fired well due to the flame being pulled directly across the kiln chamber (see below).


I am planning to build a bag wall inside the kiln to help deflect the flame upwards. The bricks will be laid in a checker board fashion, to leave holes that flames can pass through. This is so that all the heat is not directed up and then over the pots in the chamber, creating new problems (see below).


Saturday, July 21, 2012

Student of the Red Brown Earth Exhibition 20 July to 5 August


Hi everyone,

Please find an invitation to my current exhibition above. The exhibition runs from 20 July to 5 August at the Strathnairn Gallery but please note the official opening is 6pm Friday 27 July. The exhibition will be opened by Greg Daly, Senior lecturer in the Ceramics workshop, ANU School of Art.


In the distance, 2012, stoneware bowls with washed dirt inclusions, iron bark (tenmoku) and cloud (chun) glazes.
Photo by Stuart Hay

The exhibition will feature some works (like the ones above and the one on the invitation) that have been wood fired in my new kiln which I built this year.

Sunday, May 13, 2012

Spring Creek Kiln firing #1: A reflection


After evaluating the work coming out of the first firing I realise I will need to change a few things before the next firing. Firstly, I need to address the unevenness of the heat in the chamber. After doing some more research on kilns of similar design, the key areas seem to be:
 

*adding a bag wall inside the kiln to deflect the heat upwards

*pack the work in the kiln 'tighter' by packing more work in

*adjusting the firing cycle


It is definitely a learning experience.


Thursday, April 26, 2012

Not bad for the first time

Despite the kiln being too hot at the front and too cold at the back. There was some pleasing results when I unpacked it late this afternoon. There will be a number of modifications I will make before the next firing in this kiln. This was the first firing in this kiln and there is a bit to learn to get operating optimally - not bad though, I am happy.

Wednesday, April 25, 2012

Full blast

I was able to get cone 12 down at the front of the kiln but much cooler at the back. I will have to look into how I can get this more even. Now I will just have to wait until its cool enough to unpack.

Begin reduction?

My pyrometer is reading 650 but cone 06 is down at the front ( top and bottom - 991. It looks that hot at the from however much cooler at the back of the kiln.

Getting hot

Firing going well have been in reduction ( limiting the amount of oxygen) for several hours. Looks hot but no action in the cones just yet.